|
E-Commerce Web Design |
|
E-Commerce Web Design |
Chapter 3 – Web Design
At this point, LPP is ready to create their Web Catalog!
Site Parameters and General Site Layout
The first step in designing the actual web catalog is defining the site parameters and the general site layout. Many of these parameters have been defined in the Inventory and Sales Program Setup and the Inventory Item Maintenance. We know what type of catalog we are creating, (Business to Business, Business to Consumer, Awards Program, etc.), the Product and Parent Categories, the number of items, and the item numbers. You will need all of this information to create your catalog.
Now is the time for management and the design team to meet to make some decisions. Some of the questions both sides should be ready to ask and answer are:
| 1. | What should the Item Layouts look like? |
| 2. | Do we want a Detail Page for each item? If so, what should they look like? |
| 3. | What links do we want in addition to the Product Categories? |
| 4. | Do we want to include Price Breaks, Minimum Quantities, Stock Status, etc.? If so, where do we want these to appear? |
| 5. | Is there an existing look and feel that needs to be adhered to? If not, what is the look and feel we want? |
| 6. | What forms need to be designed? |
This is only a short list of questions that should be answered prior to any actual design work. This step, which is often skipped, can save an incredible amount of design time.
Designing the Site
One of the unique features of the E-commerce module is that it eliminates the need to create every page of the site. You need only design the Splash Page, a few Template Pages, insert the proper tags and links , and the E-commerce module actually creates the catalog.
Splash Page
The first page of a site is often referred to as the Splash Page. This page is generally a little showier than the rest of the site since it does create the first impression, as well as set the tone of the site. The main body of this page can contain news, site information, specials, an image map, etc. Most web sites also include a navigation bar on the Splash Page. The Splash Page often defines what the rest of the site will look like. The Secondary Pages are usually simpler versions of the Splash Page.
Secondary Template Pages
The templates you will need to create depend on what you would like to include in your catalog.
The main templates required are:
1. The Framework
2. Product Category Page (SKUShortListPageTPL)
3. *rep_SKUOverview
4. *ShortListItemTPL
5. Item Details Page (SKUDetailsPageTPL)
6. *mkpage
7. Add to Cart Page (AddItem)
8. Shopping Cart (CartTPL)
9. Shopping Cart Item (CartItemTPL)
*The last three pages are simple template pages, often only one line or so, that are required for the other templates to operate.
Definitions for the tags used in these templates may be found in the appendix
1. The Framework
First we need to create a framework for these templates.
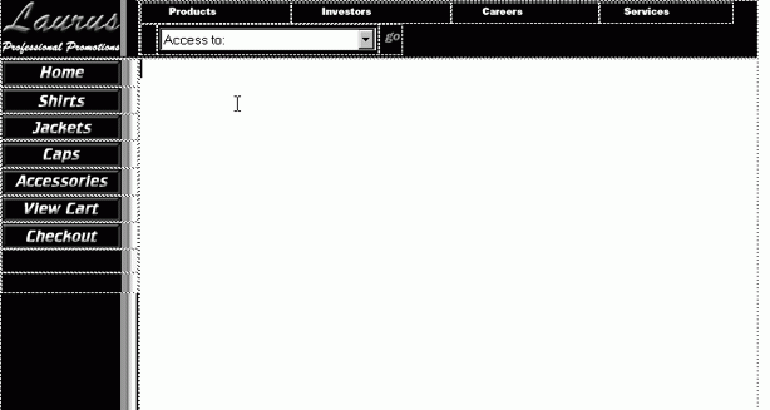
The links to all template-driven Product Category pages need to follow this naming structure:
SKUGrpList(Inventory Program Name)(Product Category Name) .ASP
i.e., using the Inventory program and product category names that LPP set up in EZZ the link would be:
SKUGrpListLAURUSALL.ASP
Save this framework for use in the other templates.
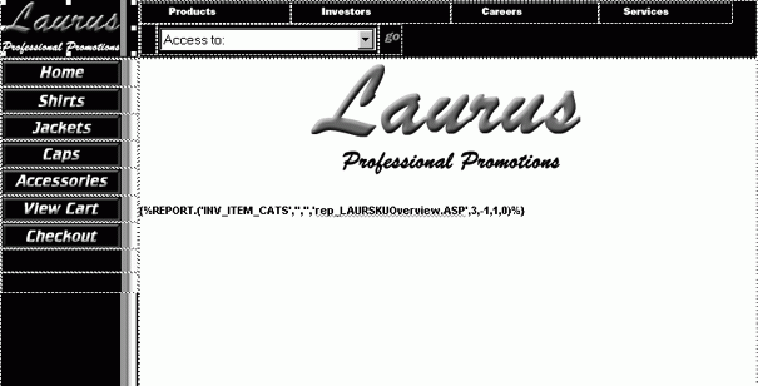
2. Product Category Pages
To make this framework a Product Category Page Template we simply insert a report tag. See Appendix.

Save this template as:
'(Inventory program) SKUShortListPageTPL.ASP'
Now, take a break and make the 'rep_SKUOverview' and 'ShortListItemTPL' templates.
1. 'rep_SKUOverview' Template
The 'rep_SKUOverview' template determines how the individual items will be tiled on the page. Save this template as: 'rep_(Inventory program) SKUOverview.ASP' i.e., 'LAURSKUOverview.ASP'
2. 'ShortListItemTPL' Template
The 'ShortListItemTPL' template determines how the individual items will appear. On the 'ShortListItemTPL', the link to the Item Details Page should be the following: SKUDetails{%PROG_ID%}{%ITEM_CLASS%}{%ITEM_NO%}.ASP
Save this template as: '(Inventory program) ShortListPageTPL.ASP'. i.e., 'LAURShortListPageTPL.ASP'
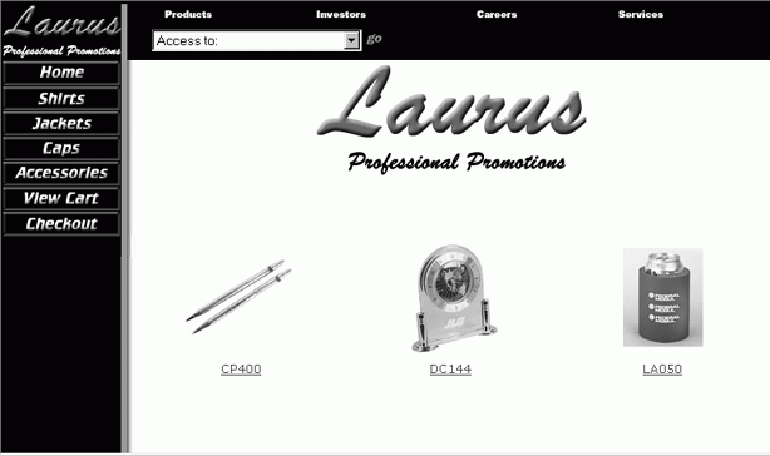
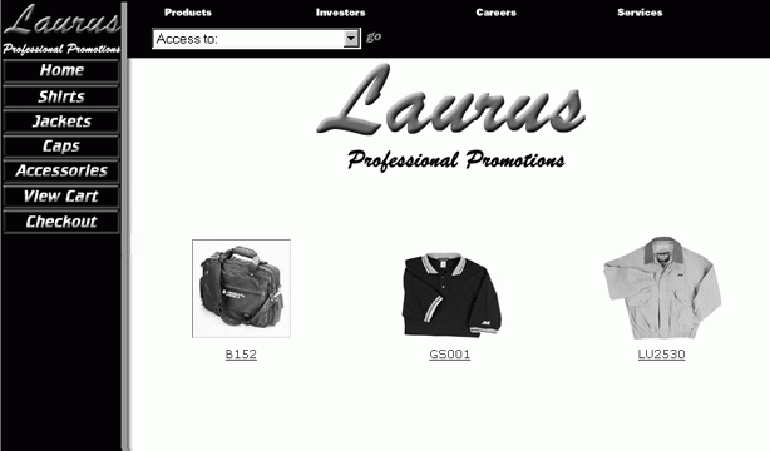
In this catalog we used the Item Image and the Item Description. The image source should reference the following: '(directory) /{%ITEM_NO%}.(file type) '. i.e., 'Elements/{%ITEM_NO%}.JPG'
Upon publication, LPP had these Product Category Pages.
3. Item Details Pages
Open the framework you previously created. Place the Detailed Item Image and any other information you want to include on these pages, including the tags , where you want them to appear on these pages. This is the layout LPP chose.
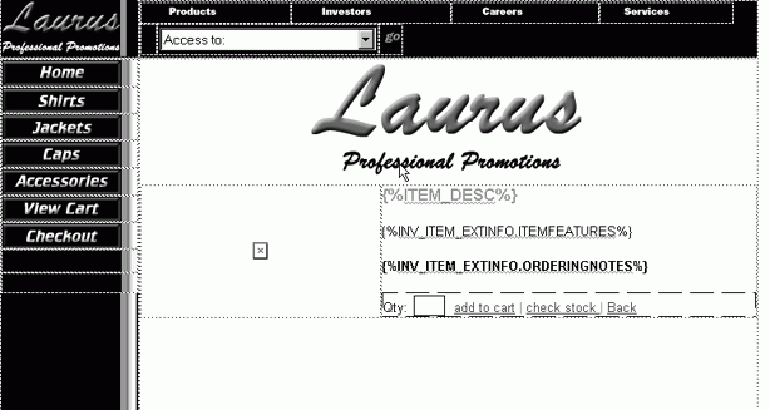
The image source should reference the following: '(directory) /d{%ITEM_NO%}.(file type) '. i.e., 'Elements/d{%ITEM_NO%}.jpg'
We use the 'd' to differentiate between the ShortList image and the Details image. We recommend that you use this or a similar naming structure in the image filenames.
LPP chose to include a Stock Status link on their Details Page. To include a similar page on your catalog, simply create an item-specific link to:
mkPg.ASP?Ctx='{%CTX%}'&Tag='REPORT.('INV_ITEM','','','LAURSKUStockStatusPageTPL.ASP',1,-1,1,0)'
And make the following templates.
6. mkPg
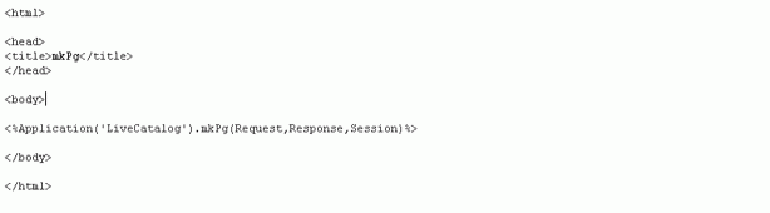
Save this template as:
'mkPg.ASP'
7. SKUStockStatusPageTPL
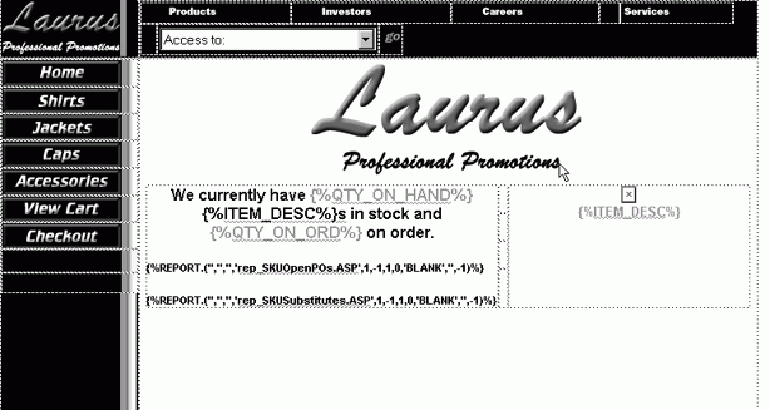
Save this template as: '(Program name) Stock StatusPageTPL.ASP'. I.e., 'LAURSKUStockStatusPageTPL.ASP'
8. Add to Cart Page
Again using the framework you created previously, insert the information, text, images, and tags that you want to be included on this template.
Save this template as: 'AddItem.ASP'
9. Shopping Cart Page
Now you need to make a shopping cart. This is simply a table that acts as a bucket for the item information.

Save this template as: 'CartTPL.ASP'
10. Shopping Cart Item Page
This template determines what item information appears in the cart and the format.

Save this template as: 'CartItemTPL.ASP'
You're ready to publish!